


If you're using an old computer at home to run a server for things like media, files, or websites, you might want to make it accessible on the internet. You can do this by the port forwarding option in your router's settings, However, it's not safe or advised to use this approach for serious or important use.
In this blog, I'll tell you a better way to make your local servers available online with strong security. We'll use a free service called Cloudflare Tunnel to connect to the internet securely with HTTPS, and you won't have to reveal your public IP address.
What is Cloudflare Tunnel?
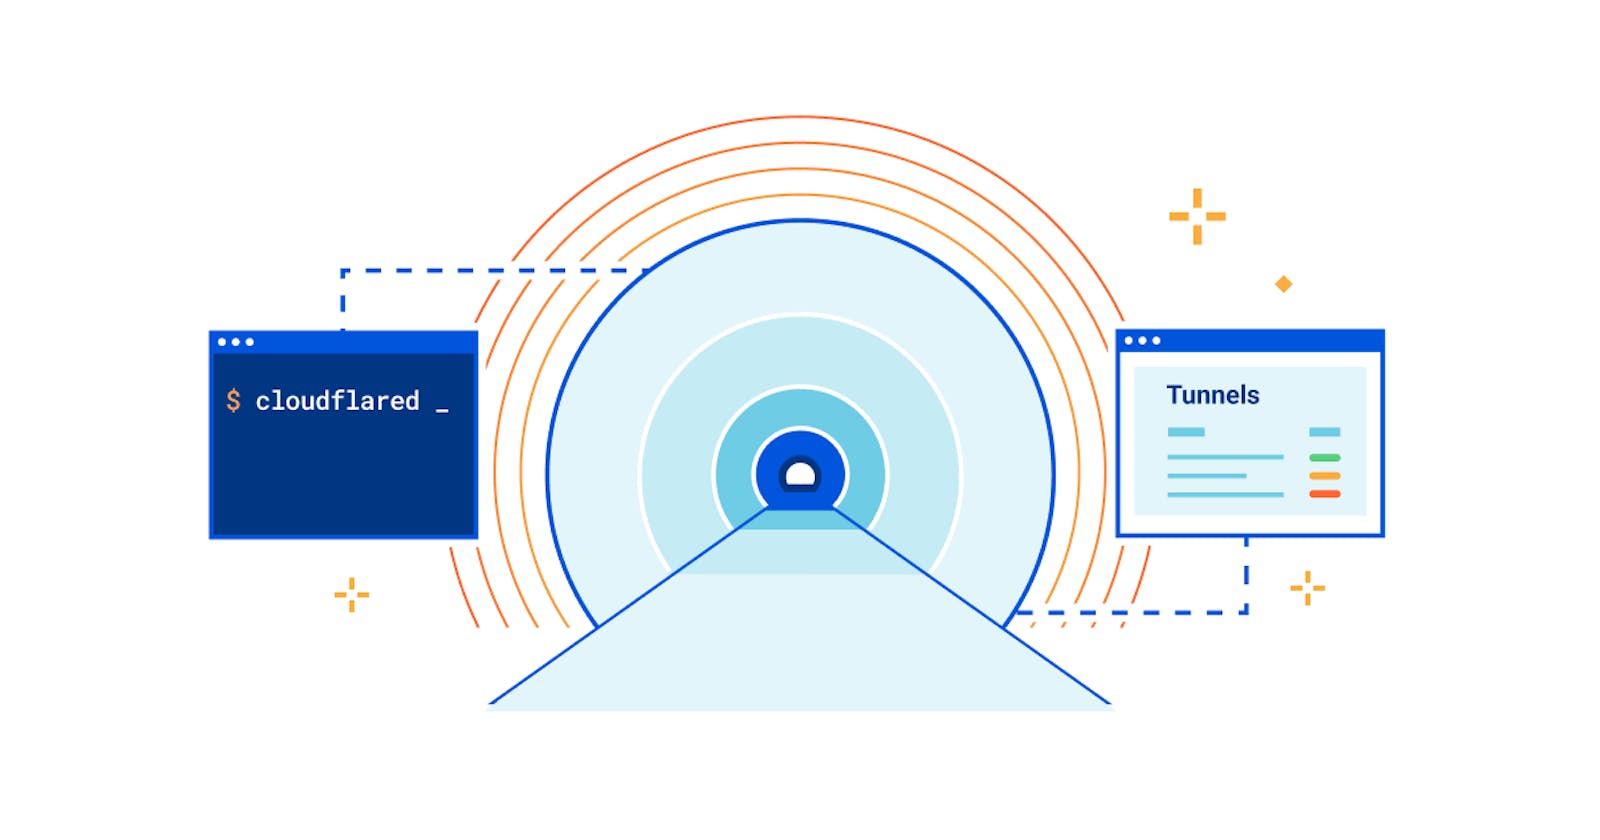
It's a tool that helps you securely share your stuff, like local servers, online. You don't need a public IP address or tricky router setups. When you use Cloudflare Tunnel on your computer (Windows, macOS, or Linux), it installs a lightweight helper (cloudflared). This helper links your local server with Cloudflare's network. With this, you can share things like websites, remote desktops, or other computer things safely on the internet.
This guide shows how to set up this helper on Windows, macOS, and Linux, and how you can make your local stuff available online in a safe way.
You can get a brief idea of how the Cloudflare tunnel enables access from your localhost to the internet by referring to the diagram below.

1. To use Cloudflare Tunnel
Firstly, We have to Install the cloudflared daemon on your system:
MacOS
You can install cloudflared on macOS using Homebrew:
brew install cloudflare/cloudflare/cloudflared
Alternatively, you can download the latest Darwin amd64 release directly from the downloads page.
Linux
On Linux, you have two options:
Install the .deb package using
dpkg:wget -q https://github.com/cloudflare/cloudflared/releases/latest/download/cloudflared-linux-amd64.deb sudo dpkg -i cloudflared-linux-amd64.debInstall the .rpm package using
rpm:wget -q https://github.com/cloudflare/cloudflared/releases/latest/download/cloudflared-linux-x86_64.rpm sudo rpm -i cloudflared-linux-x86_64.rpm
Windows
On Windows, you can download the appropriate .exe file from the downloads page and run it to install cloudflared.
After installation, you'll need to run cloudflared.exe as an administrator to start a tunnel.
OR
You can install cloudflared on windows using winget:
winget install --id Cloudflare.cloudflared
Now Confirm that cloudflared is installed correctly by running cloudflared --version in your command line:
$ cloudflared --version
cloudflared version 2023.8.0 (built 2023-08-23-1232 UTC)
2. Initiate a Cloudflare Tunnel
Once your local development server is up and running, you can start a new Cloudflare Tunnel by executing the command cloudflared tunnel in a fresh command line window. Include the --url flag followed by your localhost URL and port as parameters. As you run this command, cloudflared will display logs in your command line interface, and you'll see a banner featuring the tunnel URL:
$ cloudflared tunnel --url http://localhost:3000
2023-08-29T14:08:20Z INF Thank you for trying Cloudflare Tunnel. Doing so, without a Cloudflare account, is a quick way to experiment and try it out. However, be aware that these account-less Tunnels have no uptime guarantee. If you intend to use Tunnels in production you should use a pre-created named tunnel by following: https://developers.cloudflare.com/cloudflare-one/connections/connect-apps
2023-08-29T14:08:20Z INF Requesting new quick Tunnel on trycloudflare.com...
2023-08-29T14:08:23Z INF +--------------------------------------------------------------------------------------------+
2023-08-29T14:08:23Z INF |  Your quick Tunnel has been created! Visit it at (it may take some time to be reachable):  |
2023-08-29T14:08:23Z INF |  https://finder-puppy-situated-eternal.trycloudflare.com                                   |
2023-08-29T14:08:23Z INF +--------------------------------------------------------------------------------------------+
2023-08-29T14:08:23Z INF Cannot determine default configuration path. No file [config.yml config.yaml] in [~/.cloudflared ~/.cloudflare-warp ~/cloudflare-warp]
2023-08-29T14:08:23Z INF Version 2023.8.0
2023-08-29T14:08:23Z INF GOOS: windows, GOVersion: go1.20.6, GoArch: amd64
2023-08-29T14:08:23Z INF Settings: map[ha-connections:1 protocol:quic url:http://localhost:3000]
2023-08-29T14:08:23Z INF cloudflared will not automatically update on Windows systems.
2023-08-29T14:08:23Z INF Generated Connector ID: 8fa4e768-d32f-454b-b286-6cf6a38ac18b
2023-08-29T14:08:23Z INF Initial protocol quic
2023-08-29T14:08:23Z INF ICMP proxy will use 192.168.0.101 as source for IPv4
2023-08-29T14:08:23Z INF ICMP proxy will use fe80::bc0a:cd6a:780c:836a in zone Wi-Fi as source for IPv6
2023-08-29T14:08:23Z INF cloudflared does not support loading the system root certificate pool on Windows. Please use --origin-ca-pool <PATH> to specify the path to the certificate pool
2023-08-29T14:08:23Z INF Starting metrics server on 127.0.0.1:64529/metrics
In this example, the randomly-generated URL https://finder-puppy-situated-eternal.trycloudflare.com has been created and assigned to your tunnel instance. Visiting this URL in a browser will show the application running, with requests being securely forwarded through Cloudflare’s global network, through the tunnel running on your machine, to localhost:3000:
But remember, the URL you get is like a temporary ticket. When you turn off your local server, the URL stops working. The moment you use the cloudflared tunnel --url http://localhost:3000 command again, a new URL shows up. So, it's like a short-lived URL, not something that lasts forever.
If you're interested in securing a URL that remains constant over time, you can check out the next steps.
3. Setting up a permanent URL.
First, Create a Cloudflare account and add your domain name. You'll need a registered domain name to proceed.
You can check out spaceship for cheap domain names.
Now after you get the domain name, you can move forward to the Cloudflare
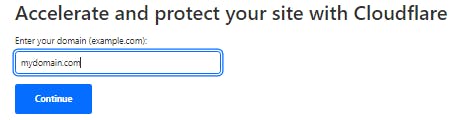
dashboard. Inside the Websites section, click on the button that says "Add a site."

After that, input your domain name and press the continue button.
Then, choose the Free Plan and click continue.

Next, you'll need to finish setting up your cloudflare's nameservers. You can follow these guides to help you with the setup.
Once you've configured Cloudflare's nameservers, it could take up to 48 hours for your domain to become active. Don't worry if it takes a bit longer – usually, it's ready in 5-10 minutes, but sometimes it might take up to 48 hours.
Once your website's address is up and running, we can move forward with setting up our Cloudflare tunnel.
Next, select the Zero Trust option from the sidebar.

Then go to Access > Tunnels

Then, you'll find a button that says "Create a tunnel" Just click on it.
and then provide a name for your tunnel.

Next, you'll be shown instructions for installing the connector based on your setup. Once the connector is successfully installed, you'll notice it appearing in the lower connector box, replacing the previous message "No connectors installed".

Lastly, for the final step, you need to include public hostnames for your tunnel, just like what you see in the image below.

After you've entered all the necessary information, simply click on "Save Tunnel" in the lower right corner.
Then you'll see your tunnels in the Tunnels section

Now if you open your domain name in a web browser, you'll find your local development site working there. You can even test by making code changes to see the updates on your domain. Just remember, your local development server should be running for this to work.
You can also include several routes in the public hostnames. Just click on your tunnel's name, select "configure," and go to the "public hostnames" section. From there, you can set up multiple routes, just like you see in the image below:

Great! We've done it – we've managed to make our local website accessible on the internet. This means we can send this domain name to anyone, and they can see the changes we make in real-time. It's quite awesome!

Feel free to take a look at Piyush Garg's video on how to expose your localhost to the internet. This blog essentially presents the content of that video in written form.
If you enjoyed reading this blog, I'd appreciate a thumbs up from you. Your support keeps me motivated to bring you more informative content. Thank you for being a part of this journey!